Using an Aroma rice cooker for brown rice simplifies cooking. First, rinse grains, then add water at a 1:1.25 ratio. Set the brown‑rice mode, which extends time and adjusts heat. After the cycle, let the pot sit 10 minutes before fluffing. The cooker’s auto‑detect feature ensures perfect texture. Enjoy! Stay he.
Choosing the Right Brown Rice Variety
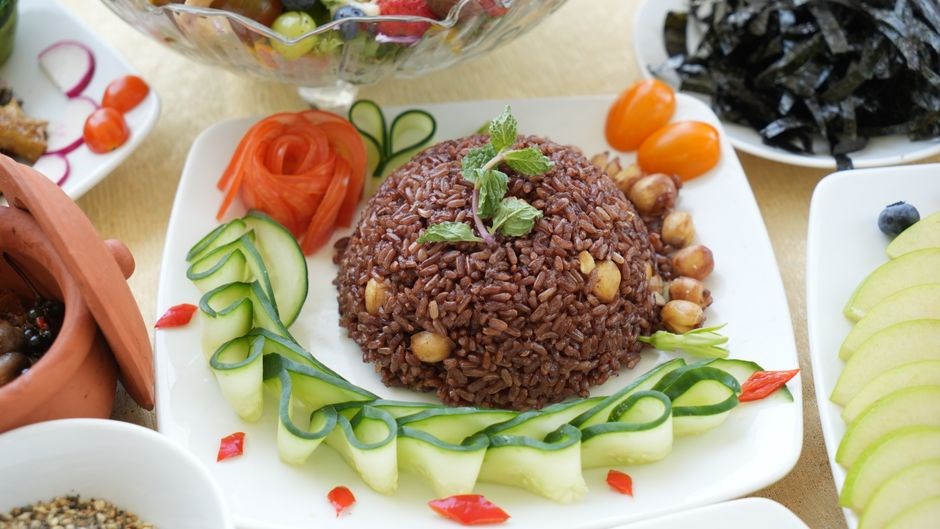
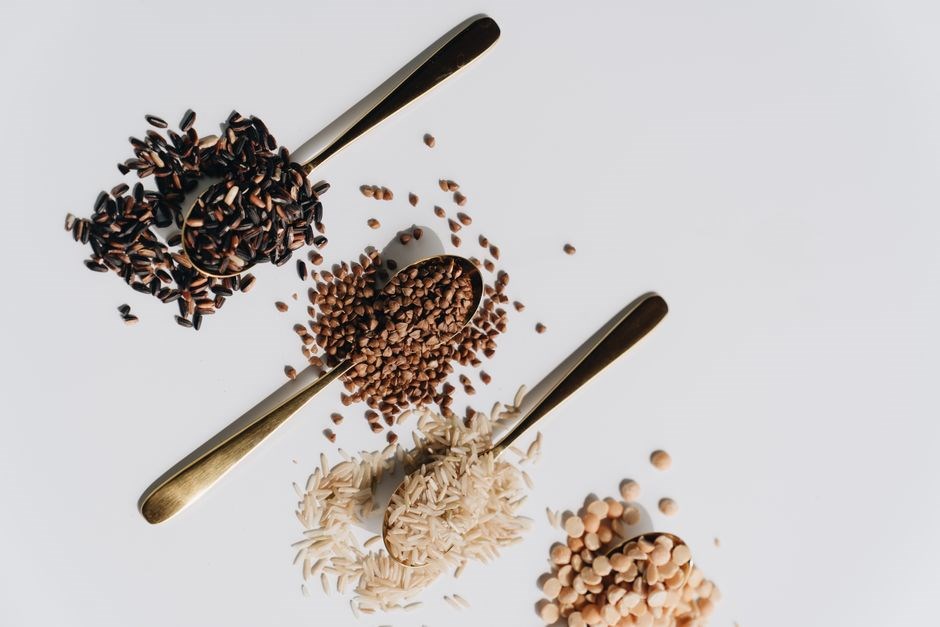
When selecting brown rice for your Aroma cooker, consider grain type, texture, and flavor. Long‑grain varieties like Himalayan or Arborio offer a fluffy result, while medium‑grain options such as Jasmine brown rice deliver a slightly sticky bite that pairs well with Asian dishes. The choice also depends on cooking time: premium Organic brands often require a longer simmer, whereas conventional Upland rice cooks faster. Look for labels that specify “whole grain” to ensure the bran layer remains intact, providing fiber and nutrients. If you prefer a nutty flavor, opt for Brown Basmati or Brown Jasmine; for a milder taste, choose Long‑grain Brown or Short‑grain Brown. Check the packaging for any pre‑washed or parboiled options, as these reduce cooking time and improve texture. Finally, consider your dietary goals: whole‑grain brown rice offers more protein and fiber than refined white rice, making it a healthier choice for balanced meals. This guide ensures you choose the best brown rice for your Aroma cooker, enhancing flavor, health, and cooking efficiency. By selecting the right variety, you can tailor the texture to your preference, whether you favor a fluffy, nutty, or sticky consistency. The Aroma cooker’s settings accommodate these differences, delivering consistent results each time. Enjoy the process and savor the wholesome grains. Your meals will be richer and more satisfying. Your culinary adventures will flourish with the perfect grain choice. Enjoy it!
Preparing Brown Rice Before Cooking
Before you place brown rice in the Aroma cooker, proper preparation guarantees a fluffy, non‑sticky result. Start by measuring the grain: a standard serving is ½ cup uncooked rice per person. Rinse the rice under cold running water, swirling gently until the water runs clear; this removes excess starch that can cause clumping. After rinsing, drain thoroughly in a fine‑mesh sieve. Soaking is optional but beneficial: submerge the rice in water for 30 minutes to an hour; this short soak softens the bran layer, reducing overall cooking time. If you prefer a quicker method, skip soaking and add a tablespoon of oil or butter to the pot; the fat coats the grains and helps prevent sticking. Next, add the correct water ratio: for the Aroma’s brown‑rice setting, use 1 cup of water for every 1 cup of rice, plus an extra ¼ cup for each cup of rice to account for the bran’s moisture absorption. Transfer the rinsed (and optionally soaked) rice to the cooker’s inner pot, pour in the measured water, and stir lightly. Finally, close the lid securely, ensuring the steam vent is clear. By following these steps—rinsing, optional soaking, precise water measurement, and proper sealing—you set the stage for a perfectly cooked batch of brown rice in your Aroma cooker. Keep the inner pot clean; residue can affect heat and flavor. After cooking, let the rice rest 10 minutes before fluffing with a fork. For leftovers, transfer to an airtight container and refrigerate within two hours to keep it fresh and safe and aroma, flavor, taste.
Measuring Water to Rice Ratio
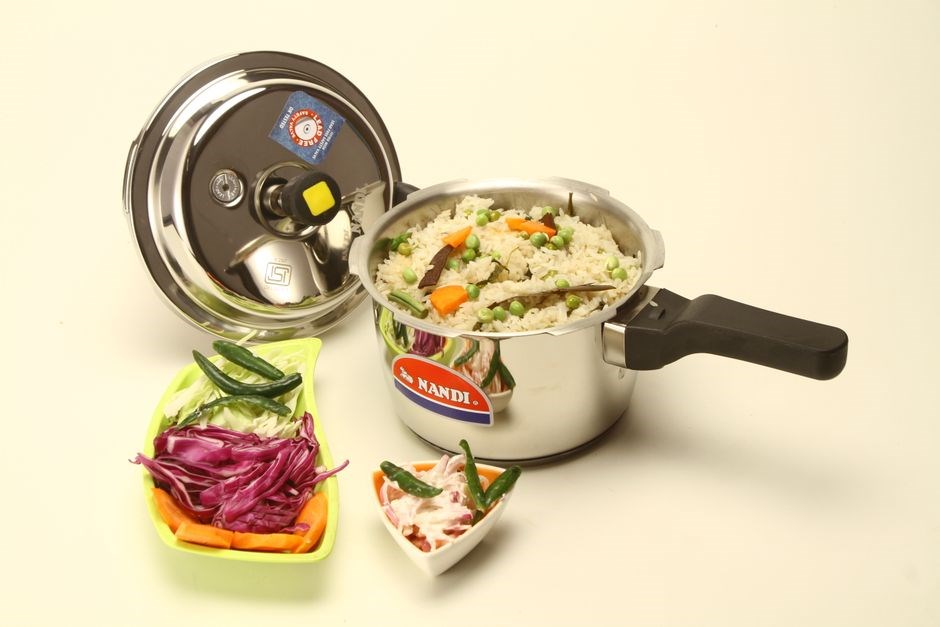
When cooking brown rice in an Aroma rice cooker, the water‑to‑rice ratio is the cornerstone of a fluffy, non‑sticky result. The manufacturer’s guide recommends a 1:1.25 ratio for the brown‑rice setting, meaning for every cup of rinsed grain you add 1 ¼ cups of water. In practice, a 2‑cup batch of washed brown rice calls for 2 ½ cups of water. Some users report adding an extra ½ cup of water to the 2‑cup batch, bringing the total to 3 cups, which yields a softer texture that many find desirable. The Aroma’s internal thermostat will automatically adjust the heat and cooking time based on the volume of water, so precise measurement is essential. If you prefer a firmer bite, stick to the 1:1.25 ratio; for a more tender finish, add the extra ½ cup. Always allow the water to reach the “water line” on the inner pot before sealing the lid. This line is a subtle ridge that indicates the maximum safe water level for that amount of rice. Overfilling can cause overflow, while underfilling may leave grains under‑cooked. After the cooker signals “Done,” let the rice rest for 10 minutes; this rest period lets steam redistribute, ensuring even moisture throughout the grains. Finally, fluff with a fork to separate the grains and release excess steam. By mastering the water‑to‑rice ratio, you guarantee consistent, delicious brown rice every time. Remember that the Aroma rice cooker’s auto‑pause feature can be activated if you need to add ingredients mid‑cooking; simply press the pause button, add your sautéed onions or herbs, then resume. This flexibility allows you to customize the dish without compromising the rice’s texture, making the cooker a versatile tool for both simple and gourmet meals. Serve immediately or transfer to a covered dish to keep very warm, drying.
Using the Brown Rice Function
Set the cooker to its dedicated brown‑rice mode. The appliance auto‑adjusts heat and extends the cycle to fully soften the bran layers. After the “Done” signal, let the rice sit covered for 10 min, then fluff with a fork for a perfect texture. The cooker’s timer will alert you when the cycle ends, avoids overk!.
Setting the Cooker Settings
Start by pressing the “Brown Rice” button on the Aroma cooker. The appliance auto‑adjusts temperature and extends the cycle to cook the bran layers properly. The display shows an estimated time of about 45 minutes for a 1‑cup batch. You can fine‑tune by adding or reducing 5‑minute increments. After the cycle, the cooker switches to “Keep Warm” once moisture is right. Let the rice rest 10 minutes with the lid closed, then fluff with a wooden spatula for a fluffy, even texture.
For faster results, pair the brown‑rice mode with the “Quick Cook” option, which shortens the cycle by roughly 10 minutes—ideal for ½ cup servings. Rinse the rice thoroughly to remove excess starch, then add 1 cup of water per cup of rice plus an extra ¼ cup for the brown‑rice function. Secure the lid and ensure the steam vent is sealed. When the cooker signals completion, wait the full 10‑minute rest before opening. Fluff, serve immediately, or refrigerate leftovers in a shallow container within 2 hours. The “Keep Warm” setting keeps rice safe until ready to eat.
Remember that the Aroma cooker’s inner pot is steel, which distributes heat evenly and prevents scorching. When adding rice, avoid stirring during the cooking cycle; stirring can break the grains and release more starch, leading to a mushy consistency. After the rest period, a gentle fluffing with a fork lifts the grains without crushing them. If you notice any excess moisture, simply turn the cooker to “Keep Warm” for an additional 5 minutes; this will evaporate the surplus steam. Conversely, if the rice appears undercooked, you can press the “Add 5‑Minute” button to extend the cycle slightly. These small adjustments allow you to tailor the texture to your preference while maintaining the benefits of brown rice today.
Estimated Cooking Time and Temperature
The Aroma rice cooker’s brown‑rice setting automatically selects the ideal temperature profile for fully cooked, fluffy grains. When you press the “Brown Rice” button, the appliance begins at a high‑heat phase of 120 °C (248 °F) for the first 10 minutes to bring the water to a rapid boil. This is followed by a sustained medium‑heat phase of 100 °C (212 °F) for the remaining 35 minutes, allowing the bran layers to soften without scorching. The total cycle time is roughly 45 minutes for a 1‑cup batch, but the cooker’s internal sensors adjust the duration based on the exact amount of rice and water added. If you add 1 cup of rinsed brown rice and 1 ¼ cups of water, the device will automatically extend the cooking window to 50 minutes to accommodate the extra moisture. After the main cycle, the cooker enters a “Keep Warm” mode at 60 °C (140 °F) for up to 2 hours, which keeps the grains moist without overcooking. For larger loads, such as 2 cups of rice, the machine will add an extra 5‑minute interval, bringing the total to about 55 minutes. The temperature sensor monitors the internal pot temperature and switches from the high‑heat to medium‑heat phase when the water reaches 100 °C, ensuring consistent results across batches. If you prefer a firmer texture, you can add a 5‑minute “Add Time” button after the main cycle, which will raise the temperature slightly to 105 °C (221 °F) for the final 5 minutes. Conversely, if you want a softer, more porridge‑like consistency, you can press the “Add 5‑Minute” button and let the cooker finish at 95 °C (203 °F). The Aroma’s smart‑cooking algorithm guarantees that the grains are neither mushy nor undercooked, delivering a reliable texture every time. The cooker logs the cooking time, useful for comparing batches. The safety latch locks until the temperature drops below 80 °C, preventing accidental burns. This feature also keeps the steam vent sealed during the cycle!
Post-Cooking Steps
After the cooker signals done, open the lid carefully. Let the rice sit covered for 10 minutes to steam fully. Then gently fluff with a fork, avoiding the inner pot’s metal. Transfer to a bowl, serve immediately or cool and refrigerate in an airtight container. Keep the pot warm until serving. Enjoy your meal! Bon app!
Letting Rice Rest and Fluffing
When the Aroma rice cooker completes its brown‑rice cycle, the lid will stay closed for a short period. This auto‑rest period allows the grains to finish steaming under residual heat, ensuring even moisture distribution. Wait 10–15 minutes before opening. If you open too early, the rice may become gummy or unevenly cooked. After the rest, lift the lid gently, avoiding steam burns. Use a wide, flat fork to fluff the rice; lift the grains from the bottom and gently stir upward. This technique separates the grains, releases trapped steam, and creates a light, airy texture. Avoid using a metal spoon or spatula, as metal can scratch the inner pot’s non‑stick coating. If you prefer a firmer bite, fluff less; for softer rice, fluff more; Once fluffy, serve immediately or transfer to a heat‑proof bowl. If you’re storing leftovers, let the rice cool to room temperature, then cover tightly with plastic wrap or an airtight container. Reheat in the microwave or on the stove with a splash of water to restore moisture. Proper resting and fluffing are essential for a satisfying bowl of brown rice that stays fluffy and not mushy. After fluffing, taste the rice to check for texture; it should be firm yet tender. If the grains feel dry, sprinkle a tablespoon of water, close the lid, and let it steam for an additional 5 minutes. For a slightly chewy consistency, reduce the rest time by 2 minutes. Remember, the Aroma cooker’s “Keep Warm” mode maintains optimal temperature, preventing overcooking during serving. When serving, gently stir the rice to redistribute heat and avoid clumping. This subtle touch enhances flavor without altering the natural nuttiness of brown rice.
Storing Leftovers Safely
After cooking brown rice in an Aroma rice cooker, it’s essential to cool the grains quickly to prevent bacterial growth. Spread the rice on a clean tray or plate, allowing the steam to dissipate for a few minutes. Once the temperature drops to below 70°F (21°C), transfer the rice into a shallow, airtight container or a resealable plastic bag. Avoid overfilling; leave space for expansion during reheating. Label the container with the date to track freshness. Store the rice in the refrigerator at or below 40°F (4°C). Properly stored, brown rice remains safe for up to 4–5 days. When reheating, add a splash of water or broth to restore moisture, then cover and heat on the stovetop or microwave until steaming hot. For longer storage, freeze the rice in portioned containers; it will keep well for up to 6 months. Thaw in the refrigerator overnight or use the microwave’s defrost setting. Always reheat to at least 165°F (74°C) to ensure any potential bacteria are destroyed. Avoid refreezing rice that has been previously thawed. If the rice develops an off odor, slimy texture, or visible mold, discard it immediately. Following these steps guarantees that your leftover brown rice remains flavorful, safe to eat, and ready for quick meals throughout the week.
Common Troubleshooting Tips
Check water level, use the brown‑rice setting, and avoid overfilling. If rice is mushy, reduce water by 1 tbsp per cup. For undercooked grains, add a few minutes to the cycle. Let the cooker rest 10 min before serving.
Check lid seal, level pot, add splash of water, keep it tight.
Dealing with Mushy Rice
When brown rice turns out soggy in an Aroma cooker, the culprit is often excess water or an overly long cooking cycle. First, rinse the grains until the water runs clear to remove surface starch that can swell the texture. Next, adjust the water‑to‑rice ratio: for every cup of brown rice use 1.25 cups of water, not the 1.5‑cup rule that works for white rice. If you prefer a firmer bite, cut the water down to 1.20 cups. The cooker’s brown‑rice mode extends heat, but you can shorten the keep‑warm period by unplugging after the timer ends. Also, ensure the lid seals tightly; a loose lid can cause steam loss and uneven cooking. Use a 1:1.25 ratio for a softer result.
Another common issue is the inner pot’s coating. A slightly worn or scratched stainless‑steel surface can trap moisture; clean the pot with a non‑abrasive sponge and mild detergent, rinse thoroughly, and dry before use. If you notice a sticky residue after cooking, it may be due to the rice’s bran layer absorbing too much water. In that case, add a tablespoon of oil or a pinch of salt before cooking to help repel excess moisture. A pinch of salt before rinsing can help reduce moisture absorption. Avoid over‑mixing the rice before cooking.
Finally, always allow the cooker to rest after the cycle completes. A 10‑minute rest period lets the steam redistribute without overcooking. After resting, fluff the rice with a fork rather than a spoon to keep the grains separate. These steps—proper rinsing, precise water measurement, careful pot maintenance, and a short rest—will consistently yield fluffy, non‑mushy brown rice in your Aroma cooker. The timer ensures consistency!!
Preventing Undercooked Grains
Undercooked brown rice often stems from too little water, a short cycle, or a low temperature. Measure grains accurately: one cup of brown rice needs 1.25 cups of water; for firmer texture use 1.20 cups. Rinse until clear, then add water to the inner pot and close the lid securely. A loose lid lets steam escape, shortening cooking time and leaving grains underdone.
The Aroma cooker’s dedicated brown‑rice mode is designed to extend the cooking cycle and raise the internal temperature slightly. Set the cooker to this mode; the built‑in sensor will detect when the grains are fully cooked and automatically switch to keep‑warm. If you are using a manual setting, aim for a 45‑minute cycle at 10‑12 on the dial. Do not skip the “pre‑heat” step; allowing the pot to reach the target temperature before the timer starts ensures even cooking. After the cycle, leave the cooker on keep‑warm for 10 minutes; this allows steam to finish cooking and prevents the rice from drying out.
Check the inner pot’s coating. A scratched or worn surface can reduce heat transfer, causing uneven cooking. Clean the pot with a non‑abrasive sponge, rinse, and dry before each use. If the grains stick, add a tablespoon of oil or a pinch of salt before adding water; this helps the grains separate and absorb heat more evenly. Finally, avoid opening the lid during the cycle; each opening releases steam and can lower the internal temperature, leaving the rice partially cooked. By following these steps—accurate measurements, secure lid, correct mode, and careful pot care—you can consistently achieve fully cooked, fluffy brown rice in your Aroma cooker.